


Search Engine Optimization (SEO) is one of six analytics and tracking tools featured in the Analytics application.
This document will help users understand how to utilize both the SEO integration tab as well as the snapshot featured in your Overview tab. You will learn how to read each metric, how to sort your campaigns and ad sets, and how to customize the table to provide the insights you need
Manually Adding SEO Analytics
To add your SEO analytics:
- Click + Add New from the top of the page within the Analytics application.
- Select SEO from the list of available integrations. Click Continue.
- Follow the field prompts to enter the requested information. You can also use the tooltips available if you have any questions.
You will need to enter the website, the language of the website, the keywords you wish to track, and the locations you wish to track for the chosen keywords. Then, click Add Keyword.
You can use this to continue adding as many keywords as necessary. Then, click Continue. - Congratulations! You’ve successfully integrated your SEO analytics for your website. Note that new data will not appear immediately. As our system collects and processes your SEO data, your metrics will begin to populate within the SEO tab.
SEO Analytics Overview
After successfully integrating your SEO analytics and keyword tracking, your Analytics application will feature a new overview section as well as a tab at the top of the page.


Note – These overview metrics will also display on the SEO tab in a slightly different appearance.


Next, we will go over each of these metrics, so that you can your team can actively utilize your new analytics.
Average Position Changes
This graph shows the aggregated total of your website’s position changes within Google search results for the selected date range. Your aggregated net position change will appear in bolded text below the label. It will also include a red arrow pointing down, which indicates a net position loss, or a green upward arrow, indicating a net position gain.

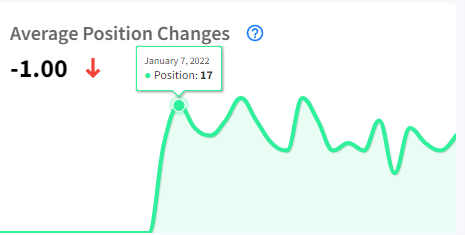
You can also track your overall position for specific dates by hovering over that point on the graph. This will detail the date and the position on that day.
Important Note – For this section and all future sections, you can change the date range by using the calendar widget at the top of the page.

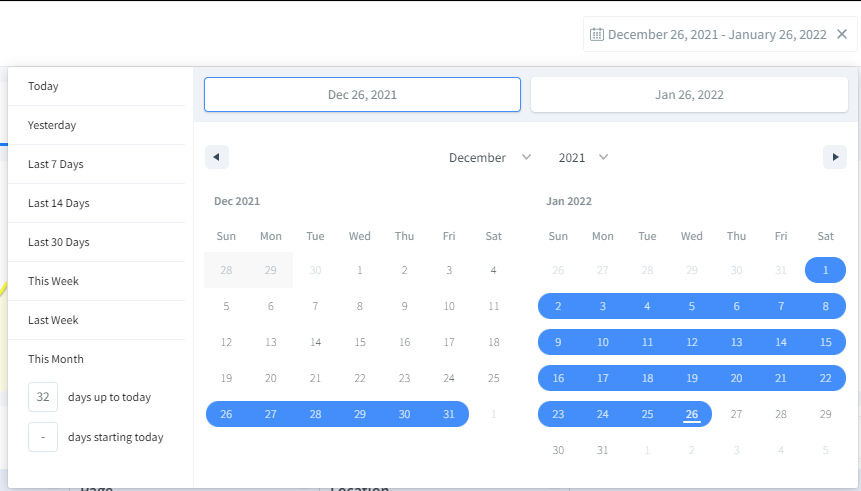
You can select a pre-defined range from the lefthand column to automatically update your analytics for that period. Alternatively, you can set a custom date by clicking once to set the start date and clicking once more to set your end date. Then, all of your analytics will update to reflect the changes.
Average Position

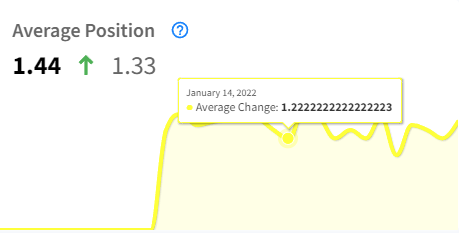
This is the average position for all of your keywords for the selected date range.
As explained above, you can change the tracked date range by using the calendar widget above. Hovering over the graph will also display the average change for specific dates.
First Position

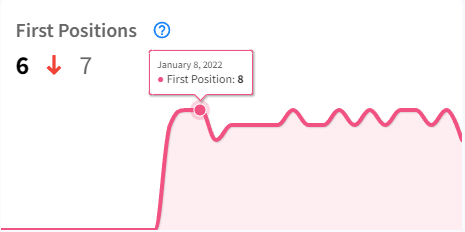
This graph displays the total number of first position keywords you have out of all of your tracked keywords. The bolded text shows the current number of first position keywords. It will be followed by a red down arrow or a green up arrow indicating a decrease or increase over the period.
Once again, you can use the calendar widget to change the tracked date range. You can also hover over the graph to check how many first position keywords you had on a given day.
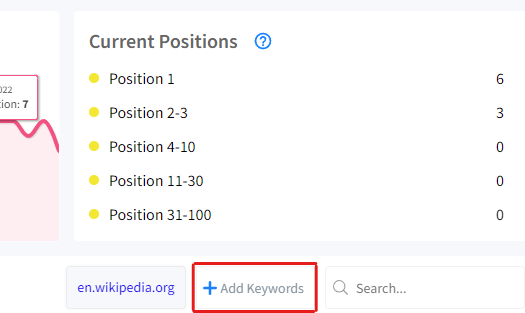
Current Positions


The final section is a simple breakdown of your keyword positions. These are broken down into five (5) categories:
- Position 1 Keywords
- Position 2-3 Keywords
- Position 4-10 Keywords
- Position 11-30 Keywords
- Position 31-100 Keywords
The number of keywords that meet each category condition is indicated on the right.
Tracked Keywords


The bottom half of this page is dedicated to your tracked keywords. This is a basic table that lists:
- The keyword
- The position for the start date
- The position for the most recent date
- The net change in your ranking over time
- The page the keyword is featured on
- The location where you are attempting to rank for the keyword
Just like with the graphs above, changing the date range with the calendar widget will update the information in the table here.
Editing Keywords
To add or edit your tracked keywords, you can do so by clicking on the + Add Keywords button on the right side of the page.

A new page will appear that lists your currently tracked keywords. It also provides a space for you to add new keywords at the top of the page.

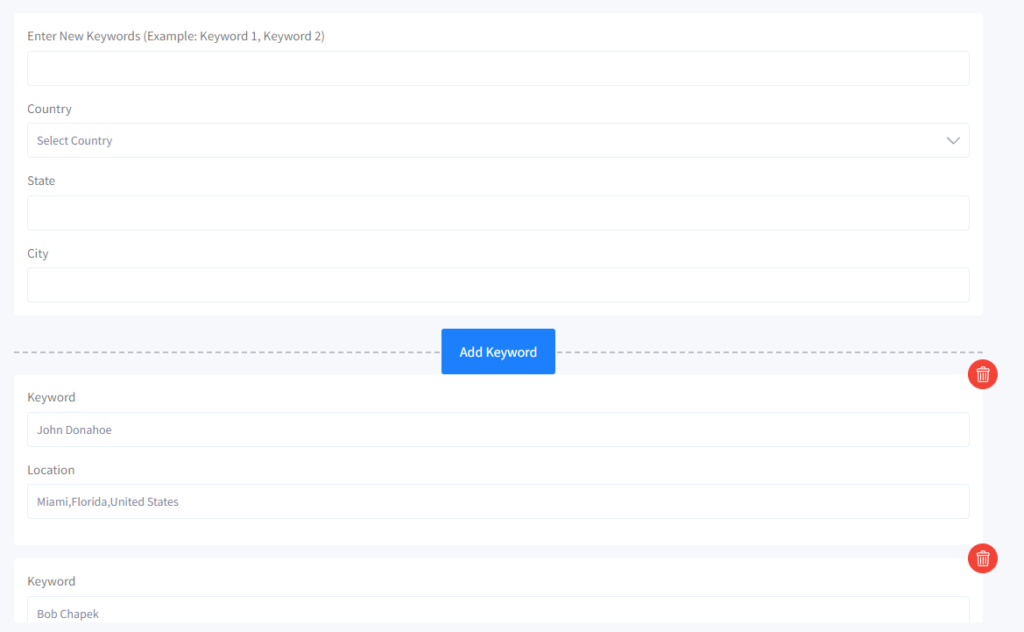
To edit your existing keywords, simply edit the field that contains the keyword you wish to edit. You can also change the tracked location in the field below the keyword.
If you wish to delete a keyword entirely, click on the red trash can icon on the far right.
When you’re satisfied with your edits, click Continue in the top-right corner of the page.
Adding Keywords
From the same menu above, you can add new keywords for tracking. Enter the keyword you want to track in the Keyword field. Then, select a Location for your keyword tracking.
When you are finished with this process, click Continue in the top-right corner of the page. If you wish to add more keywords before finishing, click the blue Add Keyword button below your newly entered keyword.
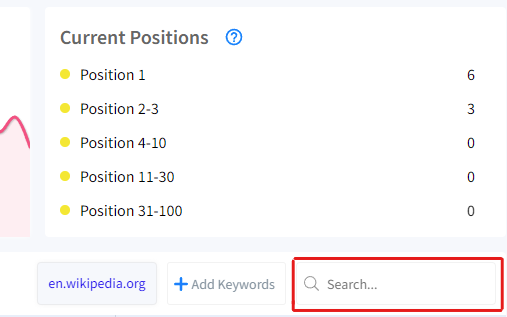
Search for a Keyword
Finally, you can search for a specific keyword you’re trying to track by using the search bar located on the right side of the page.

If you are looking for SEO services, head over to our SEO pricing.